Castle Rock Ceiling Leak Water Damage
A bulge in the ceiling needs a safety decision before a cosmetic repair. Castle Rock ceiling leak cleanup examines the source above, the strength of affected panels and the concealed materials that hold moisture around them.
(888) 532-8620Discuss the changed ceiling condition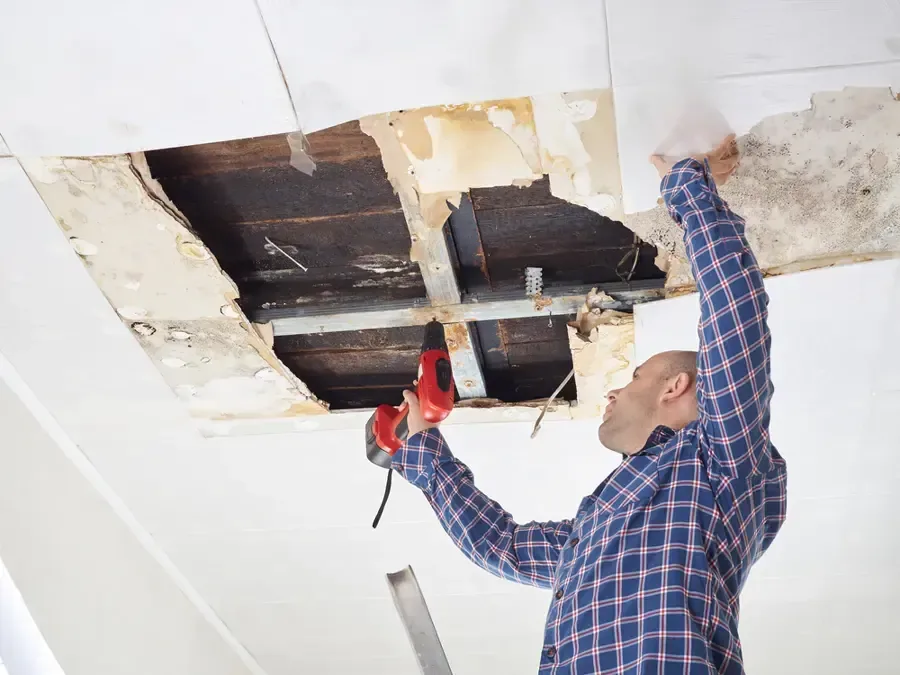
How ceiling leak water damage is handled
The visible mark can be smaller than the wet cavity above it. Inspection follows ceiling seams, insulation and nearby wall tops to establish which materials need access, removal or drying before the finish is repaired.
Rapid local response
The response team prioritizes active water and asks about safe entry, continuing flow and occupied rooms. A clear description helps the assessment focus on hazards before equipment reaches the wet area.
IICRC S500 drying standard
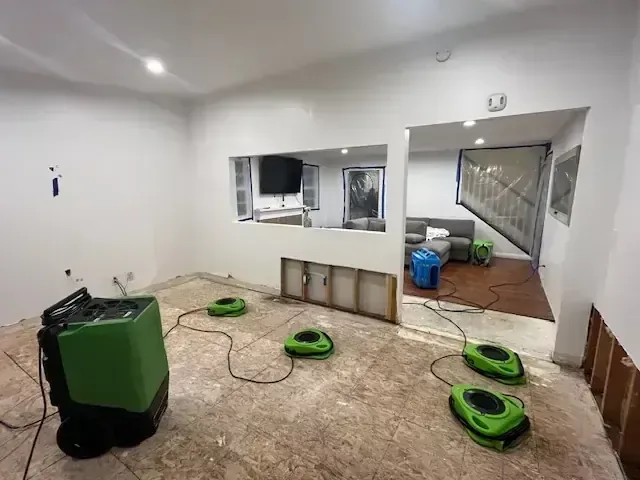
The drying crew sets material goals against unaffected references, sizes dehumidification to the evaporation load and adjusts airflow as readings change. A dry surface alone never closes the moisture record.
Claim-ready documentation
The mitigation team records the source, affected materials, photographs and daily readings in a room-by-room scope. The insurer reviews that evidence against the policy and makes the coverage decision.
Local water experts
The technician distinguishes plumbing discharge from outside water at the actual building. Different floor assemblies, access restrictions and contents call for different drying methods, even when neighboring rooms share the same leak.
First steps for ceiling leak water damage
- Restrict access beneath the damage
A sagging ceiling can release water or material unexpectedly. Keep people and pets away, and describe the visible condition before arranging a closer overhead inspection.
- Identify activity above the stain
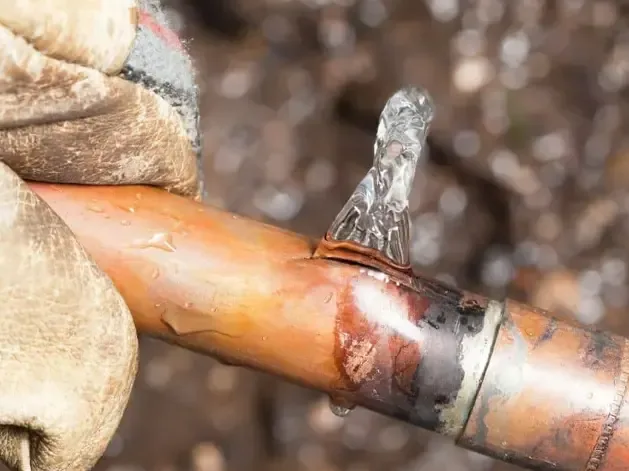
Note bathrooms, appliances or attic space and when dripping occurs. Those observations help distinguish potential sources without cutting the ceiling or disturbing wet electrical fixtures.
- Record changes from safe access
Photographs of stains, seams and wall junctions document development. Avoid climbing beneath weakened material merely to obtain a closer view of the affected overhead surface.
- Coordinate source control and access
Repair and opening need an orderly plan. Once access is safe, inspection identifies wet insulation and framing requiring removal or moisture control before the cavity closes.
What does ceiling leak water damage cost in Castle Rock, CO?
Ceiling leak cleanup costs in Castle Rock vary with the number of wet cavities, insulation condition and safe overhead access. A single affected bay requires a different scope from connected ceilings and walls retaining concealed water.
Single affected bay
$900 to $1,800
- Limited panel access
- Localized framing checks
- Small drying area
Room ceiling and insulation
$1,800 to $4,500
- Wet insulation handling
- Broader overhead opening
- Room protection needs
Multiple connected cavities
$4,500 to $8,000+
- Connected wall tops
- Several wet assemblies
- Extended moisture tracking
Category, wet square footage, material class and the delay before drying change the scope. The water damage cost calculator gives an estimate only; the inspection establishes the work.
Documentation for your insurance claim
The restoration team assembles timestamped photographs, a moisture map, daily psychrometric logs and a room-by-room scope. Sudden accidental water damage, long-term leakage and outside flooding can receive different treatment. The property owner checks the policy with the insurer; documentation supports review without promising payment for mitigation, access or plumbing repair.
The ceiling leak water damage process
Assess the overhead condition
The room is checked for sagging, electrical exposure and safe access beneath affected panels. Source information and visible water paths define the work boundary before openings or material handling begin.
Expose damaged and concealed layers
Purposeful access reveals insulation and framing above the finish. Removal decisions address weakened panels and materials that obstruct effective drying, with exposed conditions documented before any part of the assembly is covered again.
Dry retained cavity surfaces
Air movement and humidity control target the materials that remain. Repeated checks reveal whether moisture is declining through the assembly or whether another concealed area needs inspection and a change in equipment placement.
Prepare the ceiling repair scope
Final readings and source repair information support the transition to rebuilding. The repair contractor can check the opened area, removed insulation and remaining surfaces before choosing the work needed to restore the ceiling finish.
Inside the ceiling leak water damage assessment
A ceiling can collect water from a bathroom, an appliance connection or an opening above the attic. The repair starts with identifying that source and deciding whether the space below is safe. In Castle Rock, a water stain should be assessed through the affected assembly rather than treated as an isolated paint problem.
Distinguish a damp mark from a loaded panel
Discoloration, soft seams and sagging communicate different conditions. A panel holding water may need an exclusion area beneath it while appropriate access is arranged. Household attempts to puncture or pull down a damaged ceiling can expose water, wiring and unstable material at the same time. Inspection should establish a safe work sequence.
- Keep occupants clear of a bulging section and report changes in its shape.
- Note whether the drip follows fixture use, an appliance cycle or rainfall outside.
- Record nearby wall marks that may show water moving beyond the main ceiling stain.
- Do not operate affected ceiling fixtures while their electrical condition remains uncertain.
The Meadows and Elbert Street help locate a property, but the room above the stain is often the more useful diagnostic detail. A description of that space directs the initial source investigation.
Look into the assembly before choosing a patch
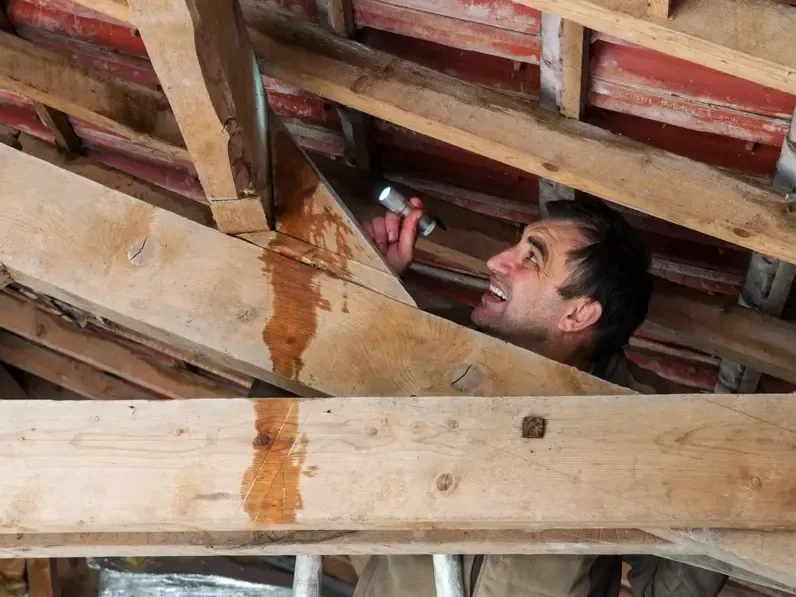
Opening a ceiling may reveal wet insulation, damp framing or water trapped around penetrations. The access area should allow a meaningful inspection while addressing damaged material. The work proposal needs to explain what will be removed and how retained surfaces will receive drying and repeated moisture checks.
- Assess the condition of panel edges as well as the center of the stain.
- Check insulation separately because its retained moisture can affect nearby framing and finish layers.
- Follow damp wall tops when the ceiling cavity connects with a wet partition.
- Keep photographs of exposed conditions before temporary covering or repair conceals the opening.
Near Founders Parkway, ceiling height and access restrictions can influence the work setup. Those building details should be discussed along with the affected room and any source repair already completed.
An overhead stain needs a clear description of the room above it and any change in the panel below. Share those details to discuss appropriate access and inspection of the concealed materials.
(888) 532-8620Check the wet ceiling assemblyClose the cavity only after the materials are ready
A dry surface under the stain may conceal moisture above it. Drying equipment and access should remain connected to the actual wet layers until readings support the next stage. If a plumbing release caused the loss, burst pipe restoration may also be relevant to the connected rooms and wall cavities.
- Track framing and adjoining retained materials at consistent locations as drying progresses.
- Check a new stain promptly if the source is believed to have been repaired.
- Share the final assembly condition with the contractor preparing replacement panels and finish work.
The goal is a repair sequence that reaches the hidden moisture first. Once the source, affected layers and drying condition are documented, the scope for rebuilding the ceiling becomes much clearer.
Safe access comes first
The response team assesses electrical contact, unstable ceilings and contaminated water before extraction begins. Occupants keep clear of affected rooms until the hazards have been checked. A plumber isolates an active supply failure; drying follows source control and inspection of the materials beneath the visible damage.
Property owners can review flood safety precautions and EPA indoor air information alongside the onsite assessment.
Ceiling leak water damage in Castle Rock
Castle Rock properties in The Meadows, near Elbert Street and along Founders Parkway can describe ceiling access when requesting an assessment. Include the room above the stain, ceiling changes and any restrictions on reaching the affected overhead area safely.
The same service nearby: ceiling leak water damage in Monument, Castle Pines, Parker.
Related water damage services in Castle Rock
Ceiling Leak Water Damage questions in Castle Rock, CO
Discuss the wet materials
An overhead stain needs a clear description of the room above it and any change in the panel below. Share those details to discuss appropriate access and inspection of the concealed materials.
(888) 532-8620Check the wet ceiling assemblyShould a bulging ceiling be punctured to release water?
A weakened panel can conceal electrical components and release material unexpectedly. Keep the space below clear and arrange an appropriate assessment. The method of opening or draining the assembly should follow its condition and safe access rather than an improvised household attempt.
Can a ceiling leak originate in a bathroom above?
Yes. A fixture, drain or supply connection above the room can send water into the ceiling assembly. The timing of dripping during use may help direct the investigation, but the specific source needs assessment before the ceiling damage is repaired.
Why is the opening larger than the visible stain?
The wet cavity or weakened panel edges may extend past the discoloration. Access also needs to reach insulation and framing for inspection and drying. The scope should explain the proposed opening in relation to those conditions rather than stain size alone.
Can dry looking insulation remain above the patch?
Appearance is only one part of the decision. The material may hold moisture away from the exposed edge or obstruct drying of nearby surfaces. Its condition and access should be evaluated before replacement paneling covers the cavity and limits further inspection.
Does a ceiling need drying after the drip stops?
The source may stop while framing, wallboard and insulation retain water. Measurements establish which layers still need attention. Drying then follows those findings, with material removal where necessary to reach concealed moisture or address damaged finishes before reconstruction proceeds.
What if the stain returns after repainting?
Returning discoloration warrants assessment of both the source and the underlying assembly. New entry or retained moisture may be involved. Earlier photographs and source repair records help compare the changed condition and determine what needs inspection before another finish repair.
Give hidden ceiling moisture a clear endpoint
Source control and material readings establish the next step before replacement panels cover the opened cavity.
(888) 532-8620Plan the ceiling damage assessment