Castle Rock winters are cold, dry and snowy. After a supply pipe ruptures, a homeowner needs a clear account of where the released water went and which parts of the building need attention. A room survey turns scattered stains, wet flooring and a plumbing opening into a practical plan for extraction, access and measured drying.
Key takeaways
- Record whether the release is still active before planning the room survey.
- Assign a location to every wet surface and source repair photograph.
- Inspect adjoining spaces at shared walls and floor transitions.
- Track cabinet bases and concealed layers separately from open flooring.
- Use the completed room record to explain the remaining reconstruction work.
Establish what changed when the water stopped
The initial conversation should identify the discovery time, the first visible water and any shutoff already operated. A plumber can then assess the failed component while the restoration crew plans safe access.
Occupants should stay clear of wet electrical equipment and overhead finishes that appear loose or swollen.
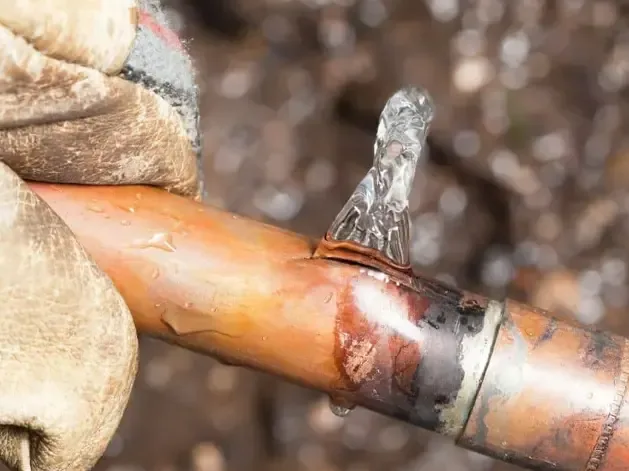
A photograph of the source before repair can preserve information that disappears when the fitting is removed. When the original condition was not photographed, the contractor can still document the exposed pipe and the repair performed.
Each entry should say what was actually observed at that point in the work.
The burst pipe cleanup service follows the escaped water beyond the repair location. A dry pipe after correction is only one part of the room survey.
Floor, wall and ceiling materials require their own assessment before the project moves toward finish replacement.
- Identify the room where the loss was discovered.
- Record whether water continued after isolation.
- Keep the failed component available for the repair record when practical.
- Note areas that could not yet be entered safely.
Draw the affected space around fixed features
A simple room sketch works best when it uses features that will remain recognizable throughout the job. Doorways, built in cabinets, stairs and partition corners help locate readings and photographs.
Loose furniture can move, so it should not be the only reference for a wet measurement point.
The survey should identify the level containing the pipe and any level below it. If water has crossed a doorway, the next room becomes part of the inspection even when its central floor appears dry.
Shared walls also need attention on the opposite side where the moisture route leads there.
For a property in The Meadows or downtown Castle Rock, the same principle applies: describe the actual building layout. Room names, fixed features and observed finishes make the plan usable.
A neighborhood label can help identify the property, while the room sketch directs the restoration work.
Treat floor transitions as inspection points
Water can disappear beneath a threshold and continue under a neighboring finish. A visible dry edge therefore needs examination alongside the water route.
Technicians can compare conditions across the transition and identify whether the covering, backing or subfloor requires additional access.
Open liquid is removed through water extraction, but the survey continues after the floor looks clearer. The exposed edge may show swelling or retained moisture that was hidden by the puddle.
Each floor layer should be described by what the inspection finds rather than assigned a material from the home's location.
Where a finish remains in place, the crew records how its underside or supporting layer will be assessed. Where removal is necessary, photographs show the reason and the newly exposed surface.
This connects the floor decision to the water loss instead of leaving an unexplained gap in the repair scope.
- Check both sides of a doorway transition.
- Mark changes in floor covering on the sketch.
- Record accessible subfloor observations.
- Photograph lifted edges before they are disturbed.
Look beneath fixed cabinets and inside wall bases
A cabinet can hide water long after the open part of the room has been cleared. The toe space, wall behind the cabinet and adjacent floor edge may need separate examination.
Safe access should be planned so heavy fixtures and connected plumbing are handled by the appropriate trade.
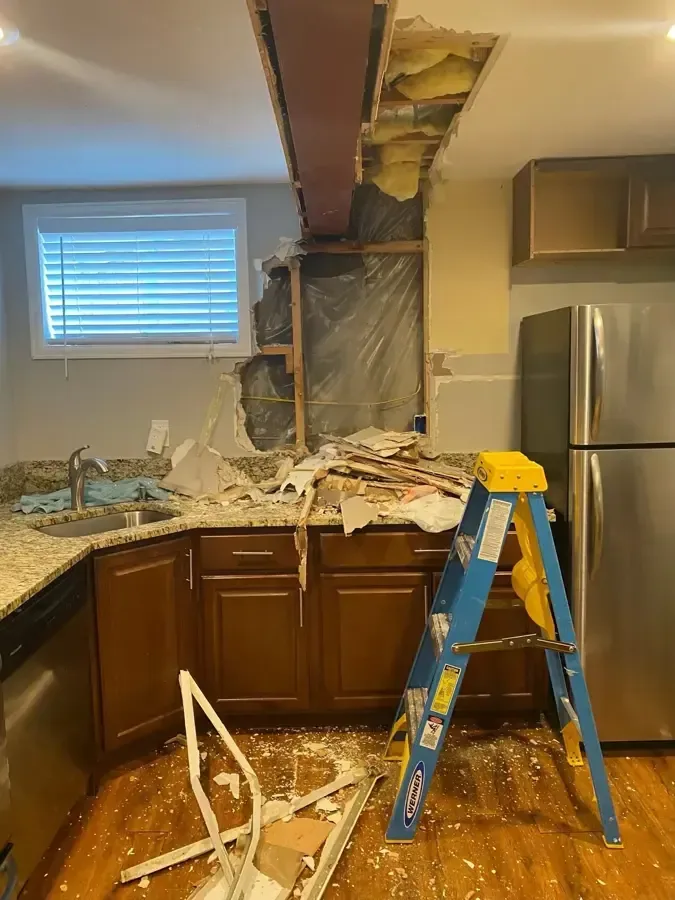
Wall bases can also contain a moisture path that differs from the visible stain higher on the finish. Trim may cover the lowest wet material, while an interior cavity can hold damp insulation.
An opening should reveal the condition needed to make a cleaning, retention or drying decision.
The survey can mark these concealed areas as distinct inspection locations. That prevents a central floor reading from standing in for a cabinet backing or wall plate.
It also helps the owner understand why a room with little remaining surface water still contains work areas that need protection.
Connect each equipment position to a wet material
A drying arrangement should reflect the room map and the surfaces that remain after extraction and access. Air movement reaches exposed material, while dehumidification manages moisture released indoors.
Equipment should operate within a setup that preserves safe walkways and keeps unaffected belongings out of the work zone.
The structural drying record follows the same labeled points across visits. Measurements of framing, wall finishes and floor layers can reveal different rates of change.
Indoor temperature and humidity provide additional context without replacing the readings taken from the materials themselves.
When a point responds slowly, the next action should be explained. Repositioning equipment, checking a concealed layer or revisiting the source can each address a different problem.
The record needs enough detail to show why the plan changed and which location the adjustment was intended to help.
- Match each device to the intended wet area.
- Protect cables and hoses along occupied routes.
- Log interruptions that could affect drying progress.
- Keep the same measurement labels through closeout.
Separate utility questions from indoor findings
The town Utilities Department oversees water provision, distribution and infrastructure maintenance. Questions concerning public water service can be directed through the appropriate utility contact.
The repair contractor's account should identify the component found at the property and the work performed there.
Inside the building, the restoration file should describe water escape, material condition and mitigation activities. A utility conversation can be retained as a separate note with its date and subject.
Keeping those records organized prevents a general service discussion from obscuring the specific findings in the wet rooms.
The owner may also have invoices from plumbing and later reconstruction. Those documents become easier to follow when room names match the mitigation sketch.
A clear location system is especially helpful when different trades visit at different times and the original puddles have already been removed.
Use the last survey to set the repair scope
At completion, the crew revisits the room map and records which materials remain, which were removed and which openings are still present. Final moisture comparisons should correspond to the points used during drying.
A photograph of the exposed assembly gives the repair contractor a useful view before finish work begins.
The handoff can identify wallboard replacement, trim reinstatement, cabinet access closure or floor repair as separate tasks. Describing those items precisely reduces confusion about what mitigation completed.
It also allows the owner to compare the reconstruction proposal with the actual condition left in each room.
Any newly discovered wet area requires its own assessment before closure. A complete final survey checks adjoining spaces that were part of the original boundary as well as the obvious source room.
The resulting file should tell a coherent story from rupture discovery through material drying and the remaining repairs.
Questions
Why sketch a room when photographs already exist?
A sketch connects separate images to stable locations and measurement points. It makes a doorway, wall section or cabinet edge easier to identify after furniture and equipment have moved.
Should the room below a burst pipe be inspected?
An upper release can travel through floor openings or wall cavities. The survey includes lower spaces along that route and records the conditions found there.
What if a cabinet blocks the suspected wet area?
The crew coordinates safe access with the responsible trade and documents the concealed surface once reached. Cabinet backing and nearby flooring need their own observations.
Which records help the reconstruction contractor most?
The room diagram, final measurements, removal photographs and a list of remaining openings show the condition to be repaired. Plumbing documentation identifies the separate source correction.